Laying some tile

tiling

With Jess’s help I started laying the tile for the bathroom.  Its a bit of a pain for two reasons, the first is the lack of space to work in, the room is so small there is no space to keep the thinset and tiles close at hand.  Secondly  because of the 12×12 tiles in such a small room, almost all of the tiles need a cut of varying degrees of complexity.   We choose to lay the tiles diagonally which looks alot nicer, but also makes laying out the cuts much more difficult.

Powder room paint

paint

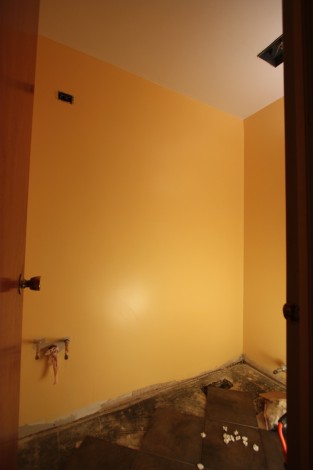
Got the powder room all painted.  One coat on the ceiling, and two coats on the walls.  Turns out I did a pretty good job patching up the walls.  Thats the good news, the bad news is that something, either the roller cover, or the paint, or the walls had a whole bunch of little fibers in it that got all over the walls.    I sanded most of them out and used a different roller cover for the 2nd coat, but it still left a handful in the paint.  The color is a little… orange, but Jess seems happy with it so thats what matters.  You can also see in this picture that I’ve started laying out the tiles too.

Ready for paint

spackel2

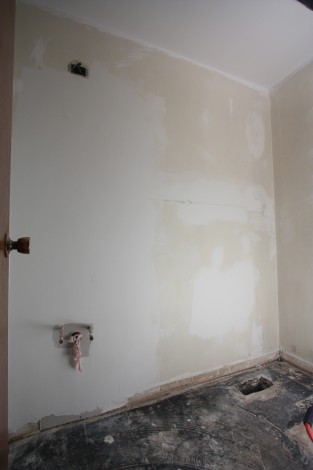
My least favorite part of any project is the spackeling of the drywall.  It takes forever, its messy, and mostly I’m not very good at it.  I’ve got it looking reasonably good right now, but one thing I hate is that you can’t tell how good it is until you paint over it.   So we’ll see how well I actually did.

New Sheetrock

sheetrock

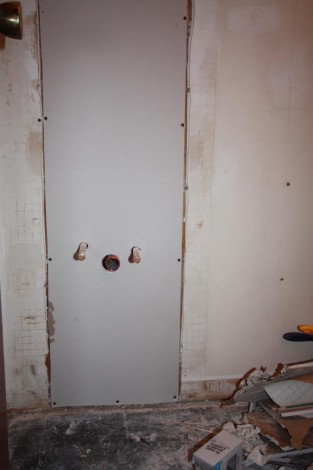
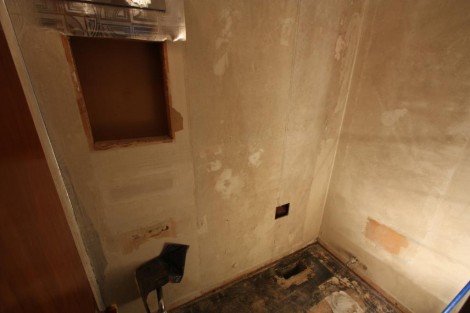
The sheetrock in the rest of the room looked in pretty good shape so I decided to just patch it up a bit instead of replacing it.  This piece covers up the plumbing and the hole where the old medicine cabinet was.  The only other piece I needed was to cover up the old toliet paper holder, which was recessed.  Getting the holes for the piping in the right spots was a bit tricky, but it really doesn’t matter since the vanity will go in front of that hole area.

Plumbing

bathroomplumbing

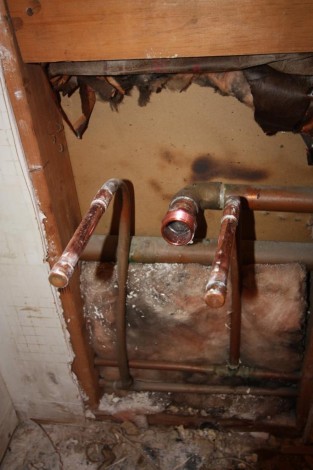
I ripped open the wall so I could do a bit of plumbing, I needed to replace the drain pipe, and wanted to replace the water valves as well.  The chromed brass drain pipe corroded almost completely away on the bottom, so much so that I could push my finger through it.  If the old plumber had done a better job it would have been an easy matter to unscrew the old slip nut, pullout the pipe and replace it, but of course thats not what he did.  It seems that he took the 1 1/4″ copper drain, and splayed it out.  Then he took the chromed brass pipe stuck it inside and put a giant pile of solder around it.  Worked well enough I guess as it never leaked, but I wasn’t about to do that.   The good news is that there was just enough  copper pipe left that I could cut off the splayed part, and solder on a threaded adapter fitting.  That’s a good thing because I really didn’t want to spend $50 on a 8′ piece of pipe when I only needed two inches.

I also pulled off the old water valves and put some logner copper extensions on so that I can cut them off after I get the vanity in, and then solder the new valves on.  I’ve decided I rather like plumbing, soldering up joints is pretty easy and fun, and you know as soon as you turn on the water if it works.  Plus you know, you get to play with fire.
Powder Room Cleanup

powderroom-hole

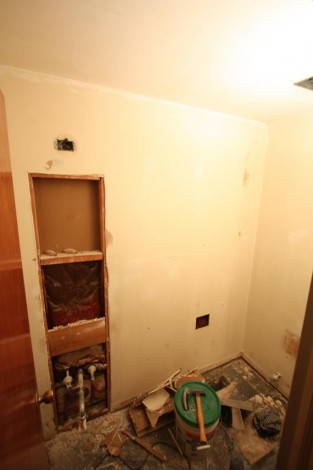
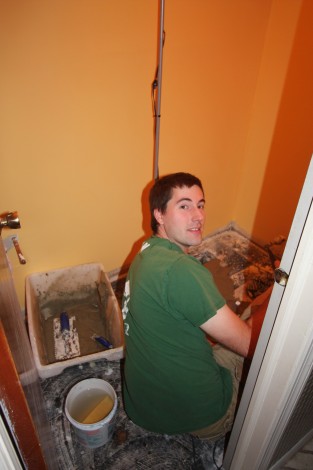
Last night, with everything out of the way, I was able to clean up the walls and cut out some old drywall.  The walls cleaned up quite nicely, and I am very appreciative of whoever put up the old wallpaper for first painting the walls, and then usign a nice water soluable paste that is extremely easy to remove.   I first sprayed down the walls with plain water, and then used a 6″ putty knoife to remove the bulk of the paste.  It was a messy job but it was easy to do, and worked well.  After that I gave the walls a wash down with a sponge, and now its just a matter of spackeling over some nail pops, and a few other marks before they are ready to paint.  Since we aren’t putting a medicine cabinet back in, just a mirror, I’m going to cover that whole with a fresh piece of drywall.  The bottom piece needed to be removed to access the plumbing, and I’ll remove the old screw valves for some nice shiny ball valves.

Gutted Powder Room

powderroom-wallpaperSpent a couple hours last night gutting the powder room.  Takign out the increidbly cheaply built vanity, and medicine cabinet.  The good news was that with the shiney metallic wallpaper, it was quite sturdy, so I was able to pull it off the wall without a problem.  Also took the toilet out, which we will be keeping since its pretty new and we like it.  The fake tiles on the floor pulled up with no problem, and the linolem tiles underneith also came up without an issue.  There is some black adhesive still on the floor, but it seems well attached so I’ll probably jsut leave it.

Powder Room

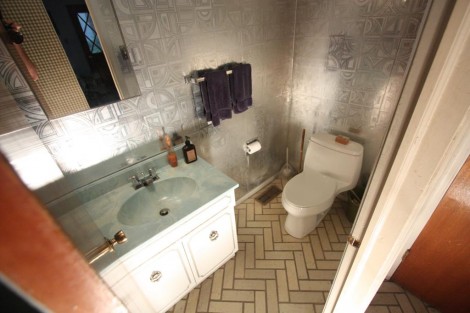
powderroomI try to avoid working on more than one project at a time, however I can only paint the outside of the hosue while its light out, and not raining.  So I’m going to start re-doing the bathroom too.  This is what our bathroom currently looks like, and from this angle its acutaly not to bad.  Of course thats because you can’t see the ceiling, which is also shiney silver wallpaper, ohh and the back of the door too.  When you’re in there it feels like you stepped into a shiney metal capsule from the early 80’s.  It’s not going to be a big project, the vanity is already done, so its jsut a matter of taking down the wallpaper, doing some tiling, and painting.

Vanity Doors

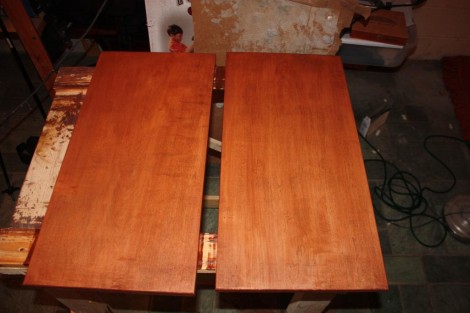
vanity-doorsThe doors for the vanity are all done, and just got their first coat of stain.    Making the doors was suprisingly difficult since, they are just a plain slab made form a single nice wide maple board.  The issue comes with my shieny new 12.5″ planer.  When I was looking at planers some came in 13″ and some 12.5″ .  That didn’t really seem like it matter, because honestly when am I ever goign to need to plane something that is between 12.5″ and 13″.  So of course I got a 12.5″ planer.  Anyone wanna guess how wide the doors are?  Thats right 13″.  Fortunately I was able to plane the center 12.5″ on the machine, and just had to clean up the edges with a hand planer.

Vanity Dry Fit

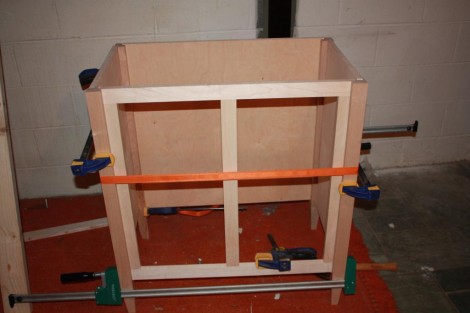
vanity-dryfitIt took a little while because I had to wait for the granite top to come in before I could cut everything to their final dimensions.  Everything went together pretty well,  and it all looks good and straight.  The dado’s for the sides aren’t perfect, because instead of being able to make them in one easy pass with a 3/4″ bit or dado blade, I had to make them in a few passes with a 1/2″ bit, since the plywood is 23/32 instead of 3/4″.  At this point all thats left to be done is cut the dado’s for the bottom shelf, as well as some slots for some biscuits in the front frame.