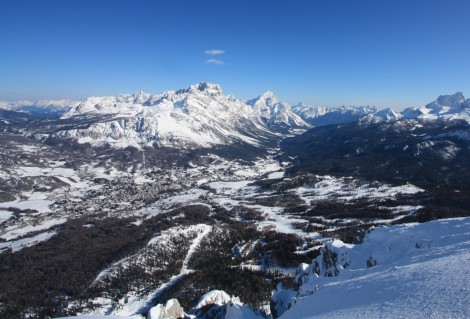
 We arrived in Cortina a bit later than I wanted to, as I still needed to rent some ski’s figure out where the lifts where and how to get there. Cortina isn’t like a typical American ski resort with a nice big centralized base lodge, there are instead little parking lots at the base of each lift. Since Cortina sits in a little valley (thats in in the left center of the picture above) you can on any of the mountains around it, and the base lifts aren’t anywhere near each other. I choose the mountain on the west side, as it looked to have the most trails, and the gondola was only a 30 second drive from our hotel.
Renting skis was the next big challenge. There are a bunch of little ski rental places, of which to choose from and since I had no internet access to look at reviews or anything I picked the one that looked the biggest, and was closest to our hotel. Of course this place turned out to have almost all cross country skis, with just a few down hill. Something I should have noticed but really, whats the point of cross country skiing? Since they didn’t have any boots that fit my freaky big feet, the guy there was nice enough to recommend a shop a little down the street. This place was great and the staff spoke excellent English. I got boots that fit pretty well, and the biggest pair of ski’s they had, some 182cm Atomic Giant Slalom Race 10.
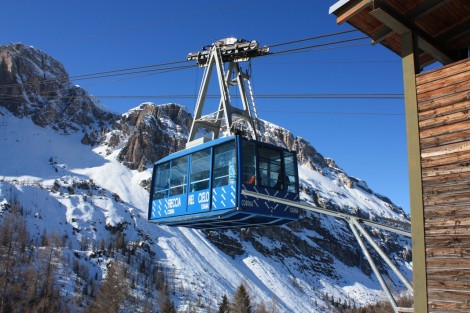 The next morning I grabbed my stuff and hopped on the gondola. This wasn’t the gondola type that I’m used to with little cabs that hold 8 or 10 people and go by every minute or so, this was a big ole 80 person gondola, that only went every 15 mins or so. From that gondola, I got on another gondola, and then finally a rather slow two person lift to get to the top of the mountain at about 9000′. Well not the actual top, that was another 600′ or so higher, but you can’t ski down from there, its only accessible by yet another gondola in the summer. I skied around up there for a couple of hours, and was rather disappointed for a couple of reasons. First off its above the tree line so the runs are rather dull, just wide and pretty straight. Second off, the snow wasn’t good. I’m not sure what exactly it was, as it was freshly groomed, and wasn’t icy or anything, it just wasn’t fun to ski on. I think maybe it was to dry or maybe to cold. Plus the top of the mountain is served by a few older lifts, that are all pretty slow, and it was pretty crowded.
So I stopped and had some gatorade and a delicious strudel and then bailed on the upper part and took a slew of trails all the way back down to the bottom of the mountain, about 6000′ down, and many miles long that took quite awhile. Once I got out of the top bowl I started having a great time. The snow down here was much better, the trail was great, meandering through the woods, and there was no-one around. Sadly though they had to go and wreck the last bit of the trail by putting a bunch of very tight slalom fences up so that you had to pretty much stop as the trail crossed a road.
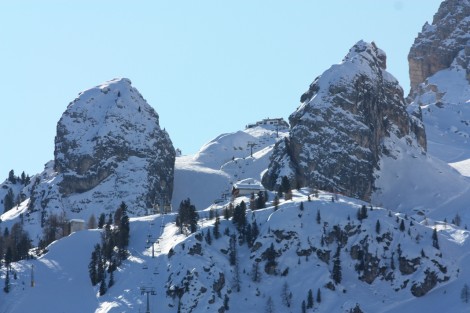
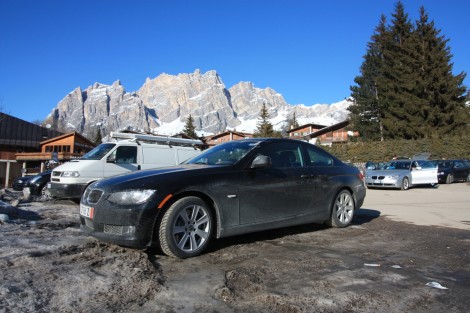
From there I hopped back on the gondola, to a quad lift, to another quad lift, and finally to a triple all the way to the top of another side. The conditions here were much better, although the snow still felt funny. I got to ski some great trails here including some of the trails used in the Olympics, and the trail I had watched Lindsey Vonn ski on in the world cup a few months ago. The lifts on this part of the mountain were also pretty new, so they were all high speed, and there were no lift lines either. Lastly here’s the obligatory car covered in salt with the mountains behind it pic.
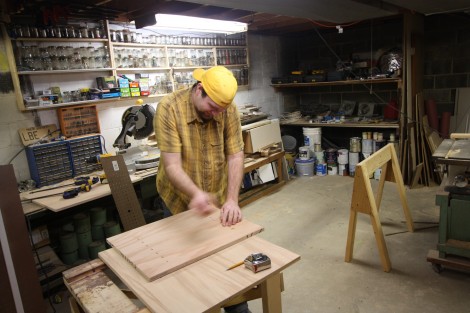 I’m sure you remember Marty, I mentioned he gave me a hand installing a skylight awhile back. Well he recently got a shiney new giant (73″!) TV and needed a TV stand for it. I built my TV stand a few years ago, which he liked, so we decided to build him one just like it. Pretty simple design, oak plywood for the top, bottom and sides, attached with some nice dado’s. The front was trimmed out with some nice ash that was just glued and nailed on. If my biscuit cutter wasn’t a piece of junk I would have used that to put the face frame on.