Painting the back of the house

paint-Back

I haven’t posted in awhile for two reasons.  The first is that my shiny, less than a year old, Canon XSI camera broke, and had to get sent to be fixed… Twice.  Since I couldn’t take any decent picutres I couldn’t update.  The next reason is that mostly what I’ve been doing has been painting, and well painting is dull.  I didn’t feel like posting a new update each time I painted a new patch.  Now that I’m wrapping it all up I figured I’d put up some posts that detail how long it took and what headaches I ran into along the way.

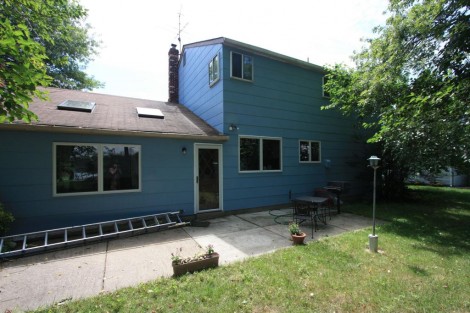
I started on the right side and worked my way around the back, pressure washing everything first and then putting one coat of Valspar Duramaxx Blue Skylight on.  I used a 4″ Wooster paint brush for everything, painting about 100 sqft at a time.  The extremely rainy May/June we had made it very difficult to get anything done, so it took alot longer than I excepected.  The only real issue I ran into was doing the part on the right corner, where there is a bush in the way.  This made getting the ladder into place very difficult, and I end up just breaking some branches out of the way.
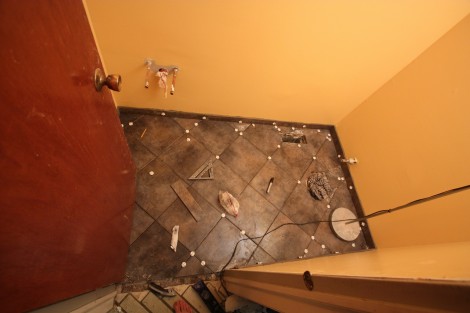
Tile is done!

tile

This weekend I got all of the tiling done.  The big tiles means it goes nice and quick, but getting them to be level is also trickier.   I think it turned out pretty well, there are a few spots that aren’t perfectly even, but it shouldn’t be too noticeable.  I’m also hoping that I didn’t cut the hole for the toilet so big that you can see it when I put the toilet in.  I probably should have measured that instead of just eyeballing it.  Next up is grouting!

Laying some tile

tiling

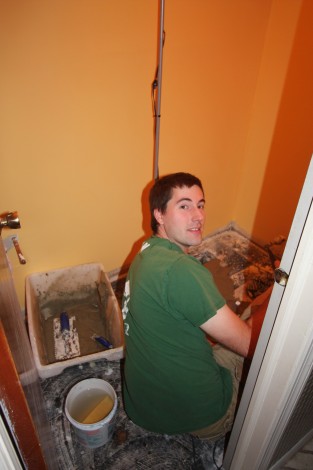
With Jess’s help I started laying the tile for the bathroom.  Its a bit of a pain for two reasons, the first is the lack of space to work in, the room is so small there is no space to keep the thinset and tiles close at hand.  Secondly  because of the 12×12 tiles in such a small room, almost all of the tiles need a cut of varying degrees of complexity.   We choose to lay the tiles diagonally which looks alot nicer, but also makes laying out the cuts much more difficult.

Powder room paint

paint

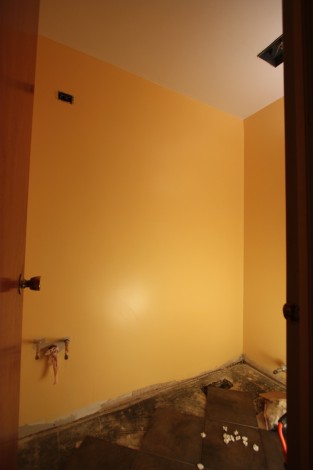
Got the powder room all painted.  One coat on the ceiling, and two coats on the walls.  Turns out I did a pretty good job patching up the walls.  Thats the good news, the bad news is that something, either the roller cover, or the paint, or the walls had a whole bunch of little fibers in it that got all over the walls.    I sanded most of them out and used a different roller cover for the 2nd coat, but it still left a handful in the paint.  The color is a little… orange, but Jess seems happy with it so thats what matters.  You can also see in this picture that I’ve started laying out the tiles too.

Ready for paint

spackel2

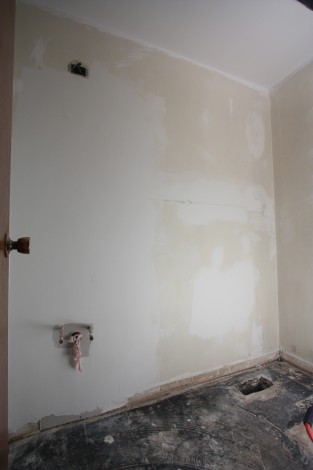
My least favorite part of any project is the spackeling of the drywall.  It takes forever, its messy, and mostly I’m not very good at it.  I’ve got it looking reasonably good right now, but one thing I hate is that you can’t tell how good it is until you paint over it.   So we’ll see how well I actually did.