Spackeling

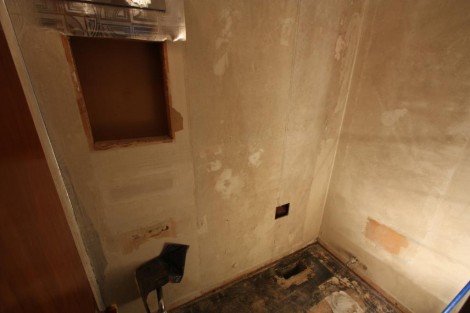
spackel

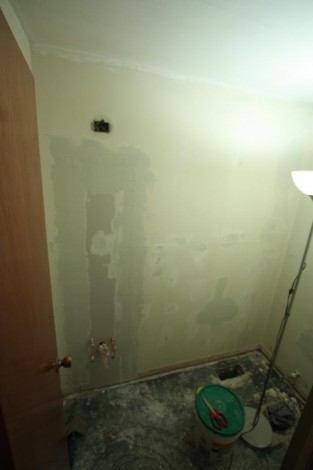
Sorry for the poor quality picture, I was in a hurry to get to sleep and taking decent pictures in that room is nigh impossible.  I’m using the standard green joint compound this time instead of the blue/gray dust control stuff that I usually use.  The green stuff is supposed to be better at skim coating, which I have to do a bit of, and its been awhile since I’ve used it so I figured I’d give it a shot.

New Sheetrock

sheetrock

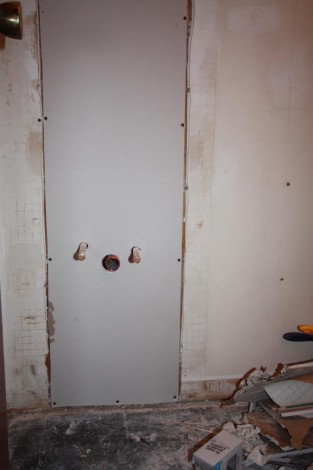
The sheetrock in the rest of the room looked in pretty good shape so I decided to just patch it up a bit instead of replacing it.  This piece covers up the plumbing and the hole where the old medicine cabinet was.  The only other piece I needed was to cover up the old toliet paper holder, which was recessed.  Getting the holes for the piping in the right spots was a bit tricky, but it really doesn’t matter since the vanity will go in front of that hole area.

Plumbing

bathroomplumbing

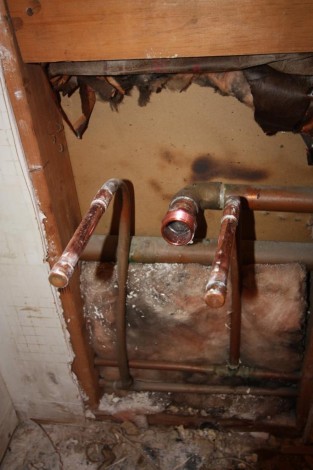
I ripped open the wall so I could do a bit of plumbing, I needed to replace the drain pipe, and wanted to replace the water valves as well.  The chromed brass drain pipe corroded almost completely away on the bottom, so much so that I could push my finger through it.  If the old plumber had done a better job it would have been an easy matter to unscrew the old slip nut, pullout the pipe and replace it, but of course thats not what he did.  It seems that he took the 1 1/4″ copper drain, and splayed it out.  Then he took the chromed brass pipe stuck it inside and put a giant pile of solder around it.  Worked well enough I guess as it never leaked, but I wasn’t about to do that.   The good news is that there was just enough  copper pipe left that I could cut off the splayed part, and solder on a threaded adapter fitting.  That’s a good thing because I really didn’t want to spend $50 on a 8′ piece of pipe when I only needed two inches.

I also pulled off the old water valves and put some logner copper extensions on so that I can cut them off after I get the vanity in, and then solder the new valves on.  I’ve decided I rather like plumbing, soldering up joints is pretty easy and fun, and you know as soon as you turn on the water if it works.  Plus you know, you get to play with fire.

Powder Room Cleanup

powderroom-hole

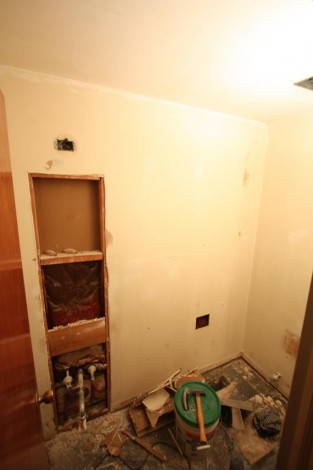
Last night, with everything out of the way, I was able to clean up the walls and cut out some old drywall.  The walls cleaned up quite nicely, and I am very appreciative of whoever put up the old wallpaper for first painting the walls, and then usign a nice water soluable paste that is extremely easy to remove.   I first sprayed down the walls with plain water, and then used a 6″ putty knoife to remove the bulk of the paste.  It was a messy job but it was easy to do, and worked well.  After that I gave the walls a wash down with a sponge, and now its just a matter of spackeling over some nail pops, and a few other marks before they are ready to paint.  Since we aren’t putting a medicine cabinet back in, just a mirror, I’m going to cover that whole with a fresh piece of drywall.  The bottom piece needed to be removed to access the plumbing, and I’ll remove the old screw valves for some nice shiny ball valves.

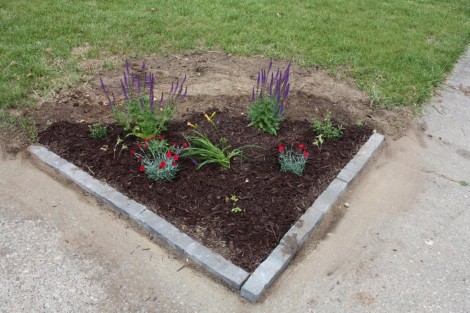
New Corner Garden

corner-gardenWith the hedges gone we’re free to put in nice cute little gardens.   These will msotly be flowers, although I may put a few veggies in the back.  In addition to what you see here (msot of which I don’t know the names of) I also planted some four-o-clock seeds in the back.  Most of the plants are pernnieals and the little plants on the corners are acutaly evergreens so it should look good next year too.

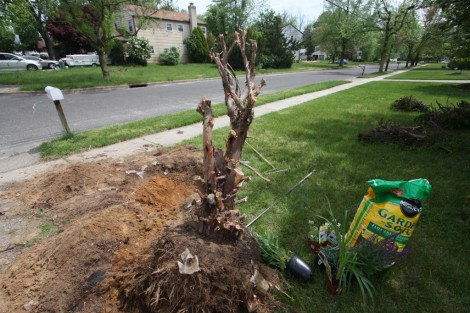
Stump Removal

stumpDespite being in the middle of painting, and a bathroom remodel, I choose to spend the weekend digging out our ball hedges instead.  Mostly because if this doesn’t get done soon, then it will be too late to plant the flowers in the space the hedges leave behind.  Pulling out the stumps was an all day task, involving a chainsaw, axe, shovel, pick, reciprocating saw, 30# digging bar, and many hours of back breaking labor.  Happily my wife helped and so we were able to finish before it got dark.  The stump removal process basicly involves digging around the stump and cutting most of the roots until there are few enough left that I can drag it out with my car.  The problem with these big stumps was that once my car dragged them out,  they were too heavy for me to drag  Thus getting them onto the side of the house (where they will dry out sufficently that I can then cut them up and put them at the curb) was quite a task by itself.

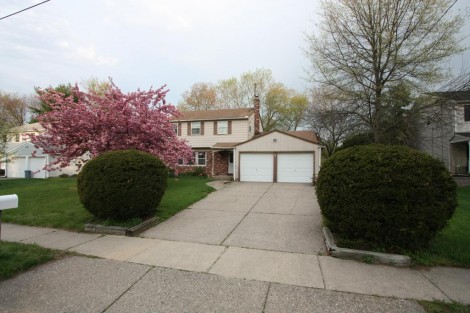
Ball Hedges

ballhedgesThese two big ball hedges are the last of the old landscapign that I’m taking out.  Like the other hedges I took out last month, these guys are way overgrown, and can’t be trimmed back.    They are over growing the driveway, and make backing out difficult.  In addition the 4×4’s that were used to edge them are now rotted and ugly.

Gutted Powder Room

powderroom-wallpaperSpent a couple hours last night gutting the powder room.  Takign out the increidbly cheaply built vanity, and medicine cabinet.  The good news was that with the shiney metallic wallpaper, it was quite sturdy, so I was able to pull it off the wall without a problem.  Also took the toilet out, which we will be keeping since its pretty new and we like it.  The fake tiles on the floor pulled up with no problem, and the linolem tiles underneith also came up without an issue.  There is some black adhesive still on the floor, but it seems well attached so I’ll probably jsut leave it.

Powder Room

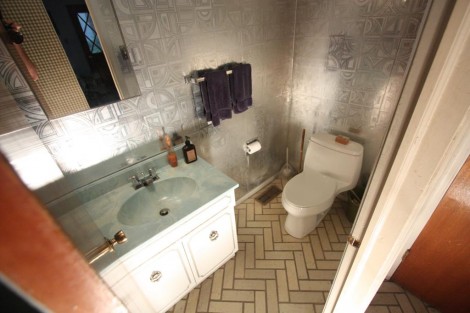
powderroomI try to avoid working on more than one project at a time, however I can only paint the outside of the hosue while its light out, and not raining.  So I’m going to start re-doing the bathroom too.  This is what our bathroom currently looks like, and from this angle its acutaly not to bad.  Of course thats because you can’t see the ceiling, which is also shiney silver wallpaper, ohh and the back of the door too.  When you’re in there it feels like you stepped into a shiney metal capsule from the early 80’s.  It’s not going to be a big project, the vanity is already done, so its jsut a matter of taking down the wallpaper, doing some tiling, and painting.

Valspar Ultra-Premium vs Duramax

duramaxPainting the house is going to take me something like 40 or 50 hours to do, and I don’t want to do it again if I can avoid it.  Considering that the most expensive paint is only going to cost about $100 more than the cheap stuff, price isn’t really an important factor here.  That being said I don’t want to throw away money for no reason either.  Lookign online, I couldn’t find any scientific third-party tests of paint.  The only place that comes close is Consumer Reports, who’s testing is of questionable accuracy, but at least they try.  Unfortuantly at the time they hadn’t finished testing the current formulations, and so they weren’t much help.    They did seem to indicate that all the top brands were pretty good, and aas long as you stayed away from  the economy stuff there wouldn’t be much differance.

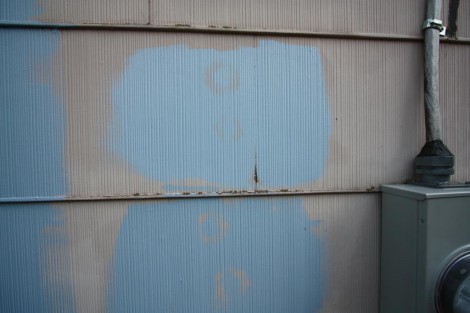
I therefore decided to buy a gallon of the Duramax, and a gallon of the Ultra-Premium (which despite its name is acutaly the cheap one) and see if I could tell the differance.  I painted 50 sqft of each, and they seemed pretty much the same, with the Duramax seeming to be slightly better at covering the gaps between shingles.   I then decided that I’d see how well each held up to a pressure washing.   I took the wand, and held it just an inch or two away and timed 30 seconds on each of the samples, the results of which are shown here (with the Duramax on top).   The painted wasn’t really dry with the Ultra Premium having about 4 horus of dryign time, and the Duramax, just two, but they still held up remarkably well.  The Duramax however seemed to have a slight advantage in the crevices.

I therefore decided that between my admittly not very thourough testing, and the claims Lowes makes (particualrly the self-priming part, since I wasn’t planning on priming) that I would go with the Duramax.  I won’t know if this was worthwhile for another 20 years or so, but hopefully I’ll be happy with it.

UPDATE: Consumer Reports just released their full testing, and gave the Duramax Satin a 62 (the highest was just a 64) and the Ultra Premium scored a 58 on the random ‘we jsut made this up’ CR scale.  So they too agree that the Duramax is slightly better.