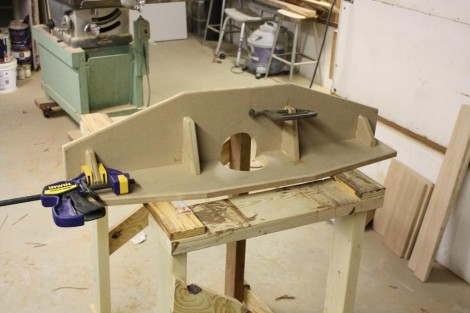
To guide the piece through the router, a sturdy fence is needed. The New Yankee plans call for the fence to be made of MDF, which I assume is due to its stability. The fence needs to be perfectly perpendicular to the router table, or the project might rock between them. After cutting the pieces out of the sheet of MDF, a round hole needed to be cut for the bits to stick through. After making the rough cut with his sabre saw, Norm uses his fancy oscillating spindle sander to clean it up. Since I have no such sander my cutout is a bit lopsided, however it should work fine. I chamfered the edge to allow the dust and chips an easier escape, and also rounded over all the corners to make it easier on the hands.
The fence is put together with glue and screws. Despite pre-drilling the screw holes with the proper size bit, I still managed to split two of the gussets. I forced a bit of glue in the crack, and then clamped it shut (as seen above) and that seems to have held. Next up I need to add a few adjustable pieces covered in laminate for the face of the fence, as well as some bolt holes.
