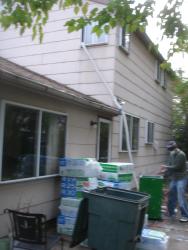
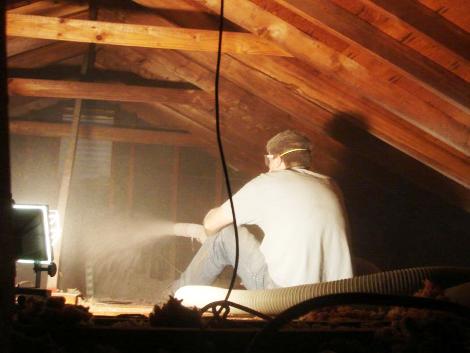
With winter fast approaching we decided it would be a good idea to add some more insulation to the house. Currently in the attic there was only a few inches of blown fiberglass. Not only would this hopefully save us some money in the long run, but it would also keep the house a more consistent temperature. Before the added insulation the upstairs would be significantly colder than the ground floor (where the thermostat is located). There are a coup;el different choices of insulation, the primary ones being foam, fiberglass or cellulose. Cellulose (which is basically ground up newspaper treated to prevent rot and bugs and such) is the cheapest and also one of the easiest to install, so we went with that. It comes in bales that you pull apart and put in the ‘blowing’ machine, which then blows it through a long hose up into the attic. Sounds simple, easy and quick. Well of course it sounds easier than it is, but only by a little bit. The biggest problem seemed to be that the blower (which the lend to you for free if you buy enough insulation) was a bit underpowered and seemed to bog down.
Fortunately that just meant it went a bit slower than I was guessing. Its really a two man job so I enlisted the help of my friend Greg, and we spent the day doing both of our houses. He put in about 35 bales and I put in about 45. I think I ended up with a R-48 or so in the attic. The hardest part is moving around in the attic, other than that you basically just point the hose where you want it to go and wait for the insulation to fly out. The other guy has a bit of a harder job, taking the bales breaking them up and tossing them in the hopper. Unlike fiberglass insulation, the cellulose doesn’t irritate your skin, although the borate that is added does smell a bit funny. I’m quite happy with how it turned out, it seems to have made the upstairs significantly warmer, and Greg has mentioned that his house seems quieter too.


